As a high school science teacher, you know that achieving an organized classroom cannot be overstated. Maintaining a clean, structured, and efficient environment is essential to create an ideal space for your students to learn and grow. But, let’s face it; it is easier said than done. With so much on our plate, it’s hard to know where to start. That’s why in this blog post, I’ve compiled five classroom organization examples that can help you stay on top of your game. These ideas will not only save you time and energy but also create a conducive atmosphere for learning.
But before we get started…Have you heard about the Declutter My Science Classroom Challenge? It’s an awesome opportunity to give your classroom a makeover and create a more organized and efficient space for you and your students. Imagine how much easier it would be to teach and how much more engaged your students would be with a clutter-free learning environment. So why not join the FREE challenge and give your classroom the refresh it deserves? You won’t regret it!
*As an Amazon Associate, I earn from qualifying purchases made through the links on this blog. However, this does not result in any additional fees for you as the customer.*
Classroom Organization Examples
#1 | Inbox Storage
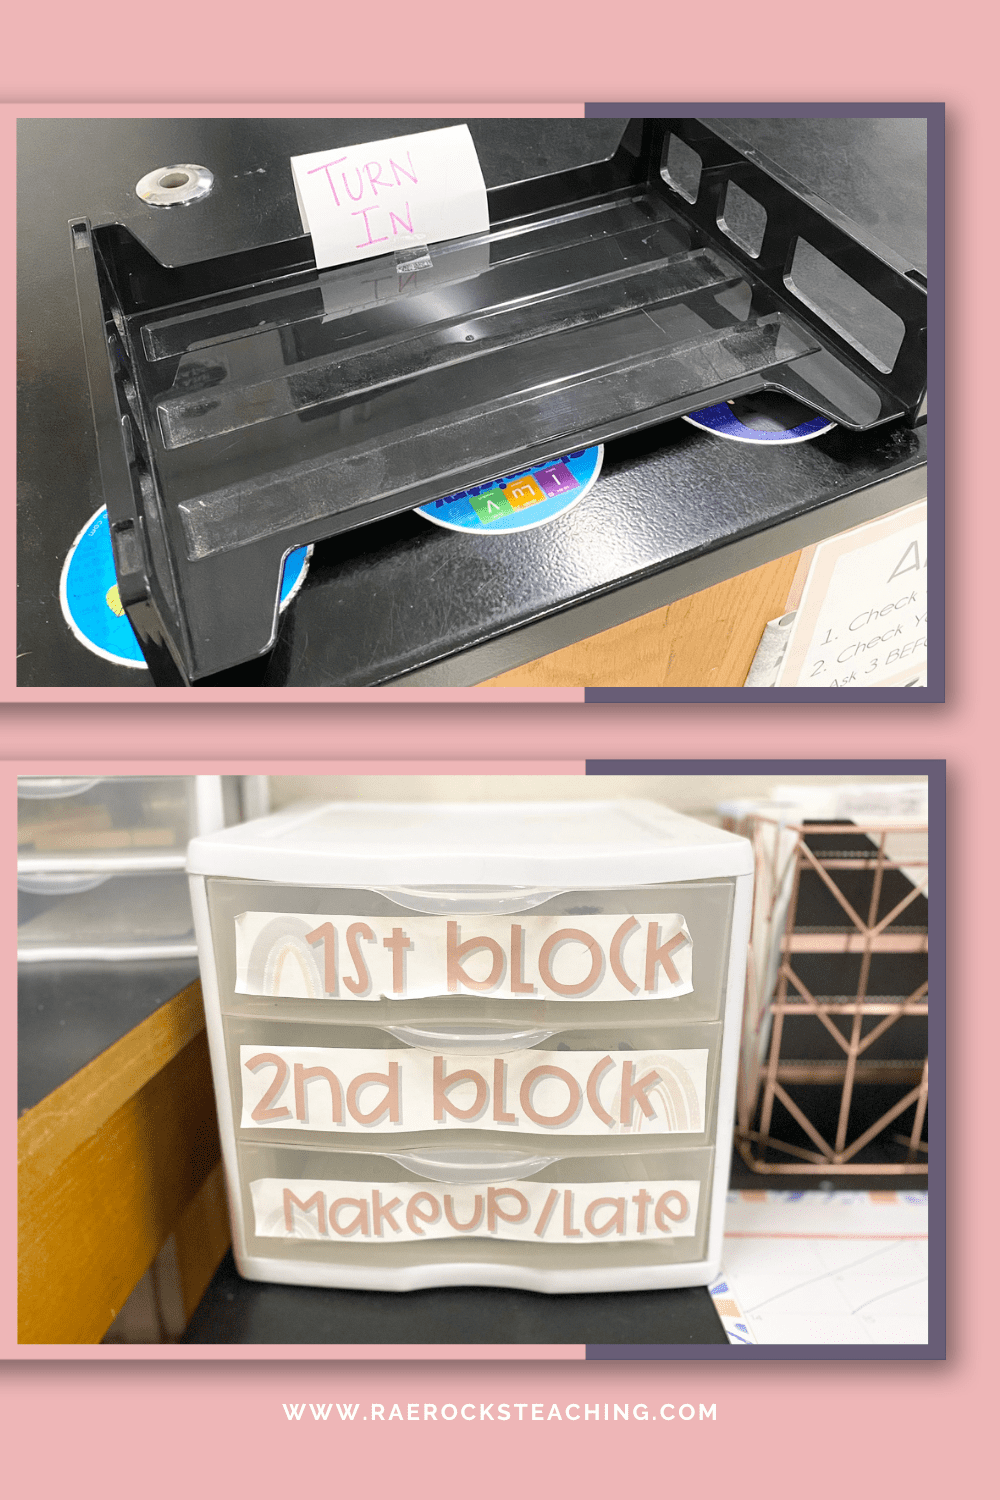
When students turn in their papers, it is in a tray in the font of the room that is on my desk. This is highly visible for me so it helps me to prevent students turning in papers late without me noticing, or keeps other sticky fingers from taking someone else’s paper to coy. This has truly help me keep tabs on their work. However, I do not let it linger there from day to day. I take the inbox work and relocate it to a “holding” place until I am able to grade it. This is behind my desk and out of student reach. I have this 3-drawer sterilite system that I labeled with 1st block, 2nd block, and makeup work. Once I am able to get around to grading, Ican go straight there. Once it has been grade, I file it into their student mailboxes as discussed in the next section.
-
Save
#2 | Student Mailboxes
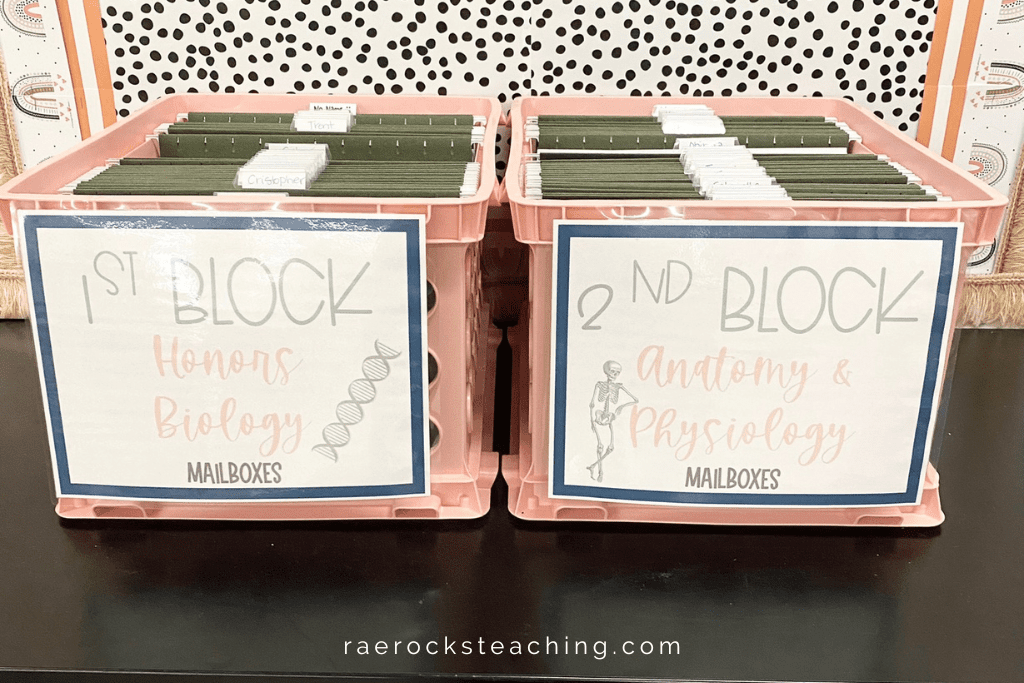
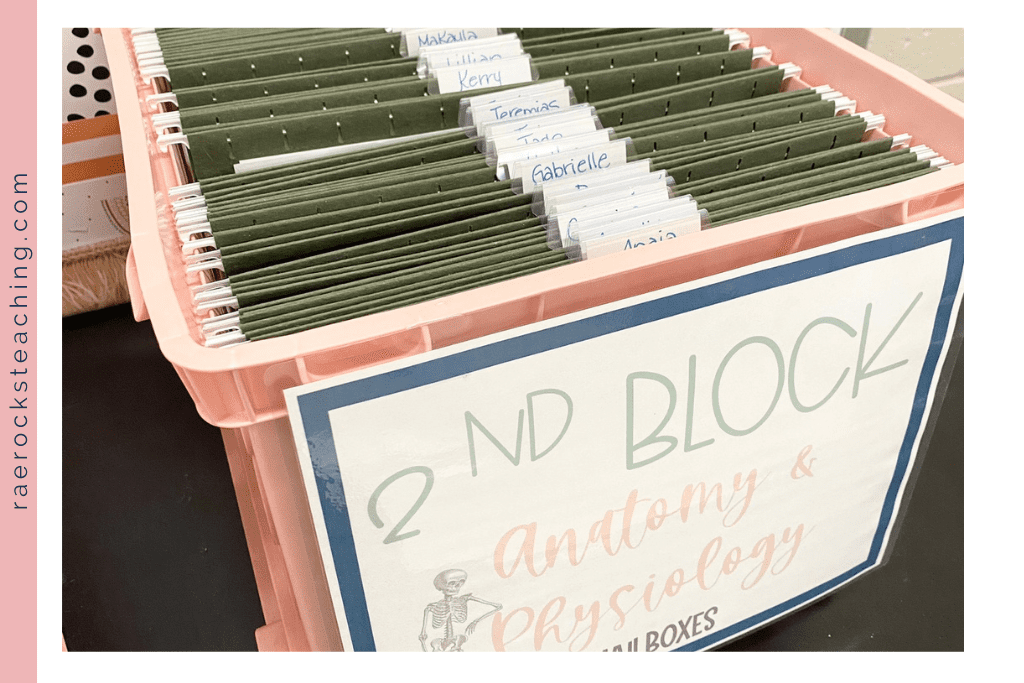
This is my most favorite paper organization method because it is so efficient. I have a storage crate with hanging file folders inside of them. Once I have graded student work, I then enter it into the gradebook and immediately file it into their mailbox. Each student has a folder with their name on it where their graded work is placed. Also, if they are absent, I place any handouts they missed into their folder. This way, there is no need to have an additional location for students to pick up work from an absence. I love that I can also keep their work in a designated place for them to pickup and “know the drill”.

-
Save
-
Save

-
Save
-
Save
#3 | Days of the Week Drawers
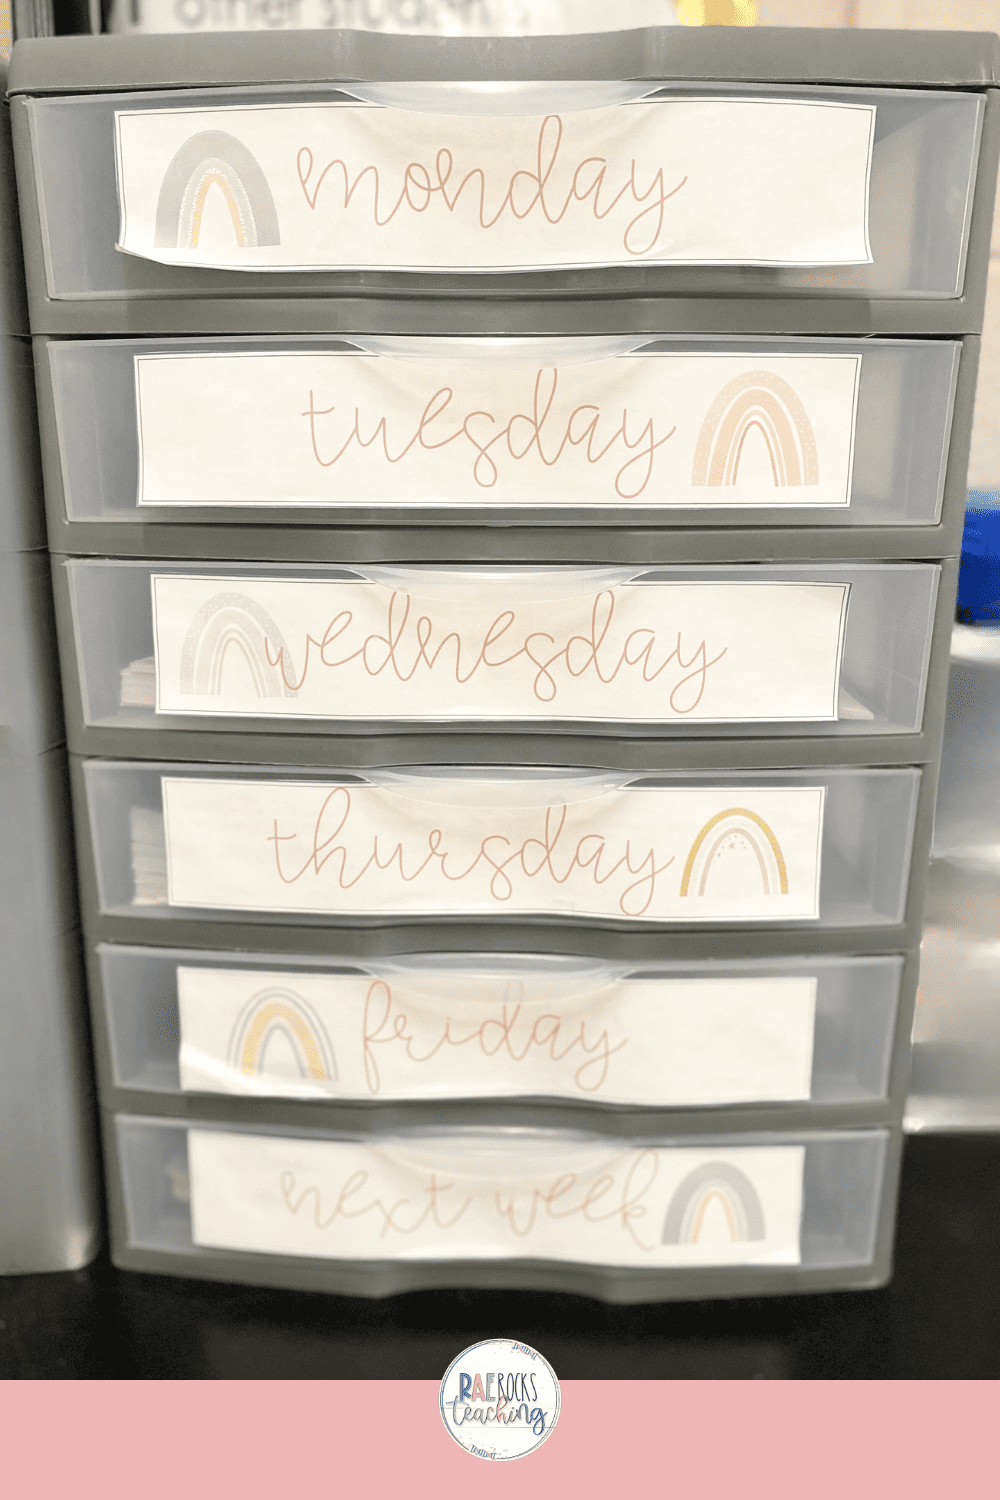
When I am on top of my game, I like to have a full week worth of copies made for my classes. This would be a paper nightmare if I didn’t have a place to keep them until the day I needed them. I love this way of organizing because it prevents multiple piles of rubber banded papers cluttering up my desk. This is also a great place to store extra handouts in case a student needs one.
#4 | Mesh Bags & Storage Crates
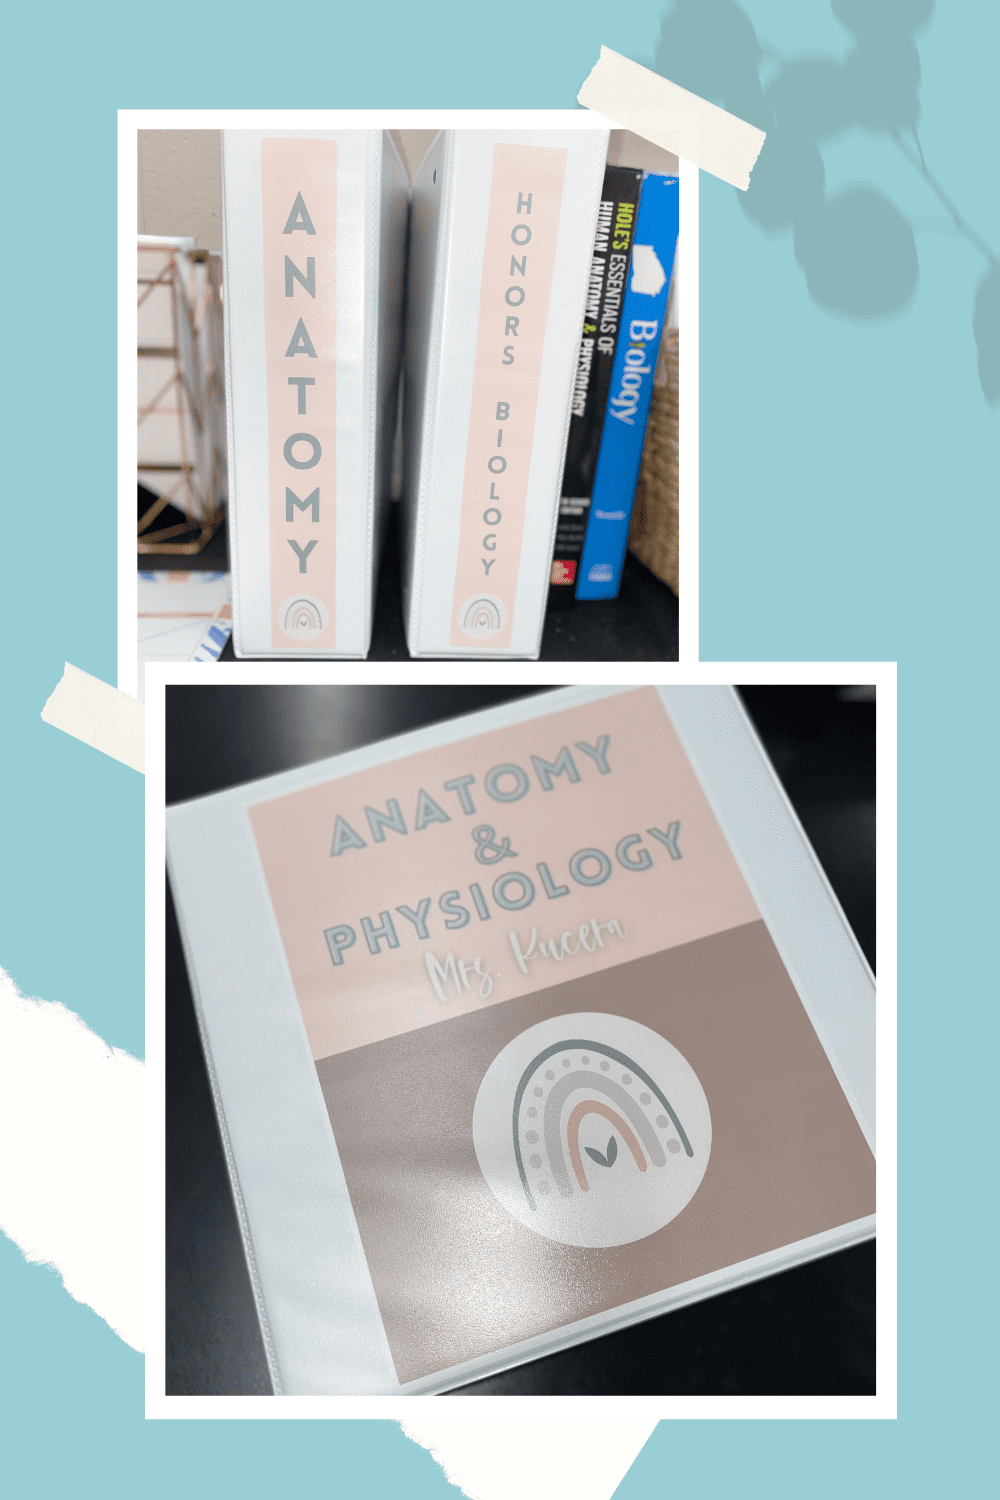
This organization method has been a game-canger for me. I stumbled upon these mesh zipper bags after an IG influencer ws talking about how she stores her kid’s toys in them. I ordered some with the intent of doing the same, but brought a few to school to see how I could use them at work. OMG…I have now gone crazy with these mesh zipper bags. I can store ALL of my stations, majority of my small labs, activities, & manipulatives in these mesh bags.. They are the perfect size and having them zip is even better to keep all the materials from falling out. I store them in these storage crates (just like the mailbox ones). They stay upright by fitting them into the hanging file folders. I separate the activities by my classes; Biology & Anatomy. I dressed them up by making these templates in Canva. The labels were taped on with clear packing tape to ensure a strong hold.

-
Save

-
Save

-
Save
#5 | Binder Organization
This is pretty basic and you may be wondering what is so special about this, but I have implemented this much more this year and it has definitely helped my clutter & organization. I ONLY put papers that we actually did in class each unit. In the past I have had massive binders with tons of handout that I would have to pilpher through each semester. I did it this semester, but placed the ones that we used into a fresh binder. Now, next year I will have exactly what I want to use organized by unit (using binder dividers) in an orderly fashion. This will directly coordinate with the digital agendas I keep in my Google Drive. I also made these coordinating labels using Canva.
I hope you enjoyed these classroom organization examples and that you are inspired to take some action in your own classroom.
Don’t forget to Sign up for the Declutter My Science Classroom Challenge! You will get access to the Canva templates that were mentioned in this blog post.

-
Save
I love sharing helpful content with y’all and would love to connect on IG or Facebook. I’m on TikTok too! Follow me and send me a DM with what you need more of because I’m here to help! If you are looking for even more inspiration, find me on Pinterest!
Wanna read more?
How to Make Beautiful Words on Walls in Your Science Classroom Easily
Pretty and Relevant Science Classroom Decoration Ideas to Make Your Class Pop
Clever and Easy Classroom Caddy Ideas You Need to Tame the Clutter
Want Classroom Transformation Ideas? See How I Get My Science Classroom Ready for Fall
Share via:



2 Responses