
Do you struggle with effectively creating or communicating your dissection procedures? Well then today is your luck day, because I’m spilling some serious tea about how to expertly run your dissections without issues.
But first, interested in more ways to engage your anatomy classes? Then get this FREE resource below! 👇🏼
Anatomy Dissection Set-Up
I fully set-up each lab station prior to dissections because I can do this and have everything ready when it’s time to do our dissection. Students will need to get their gloves, safety glasses, and an optional apron before heading to their lab station.
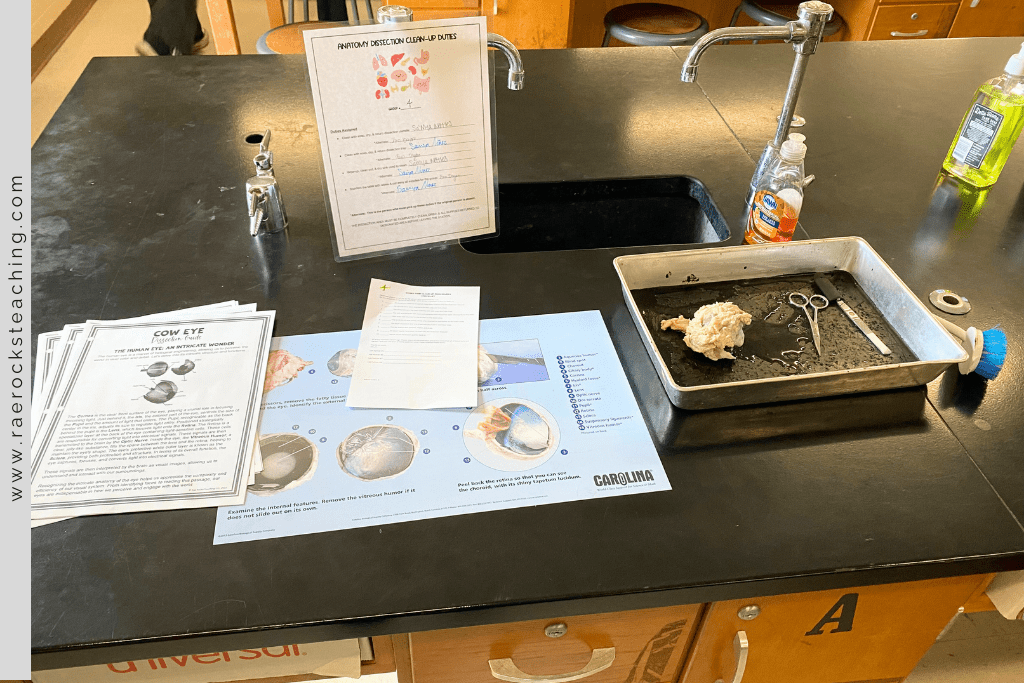
Each lab station contains the following when they arrive:
- Clean-up duties sheet for the group
- Dissecting tray with the specimen
- Dissecting scissors and scalpel
- Dissection Mat (color images by Carolina Biological)
- Dissection Guides
- Scrub brush
- Mini-bottle dish soap
By having all of the supplies ready ahead of time, I can ensure each group has everything they need and I am able to get them started quickly without having wasted time collecting needed items.
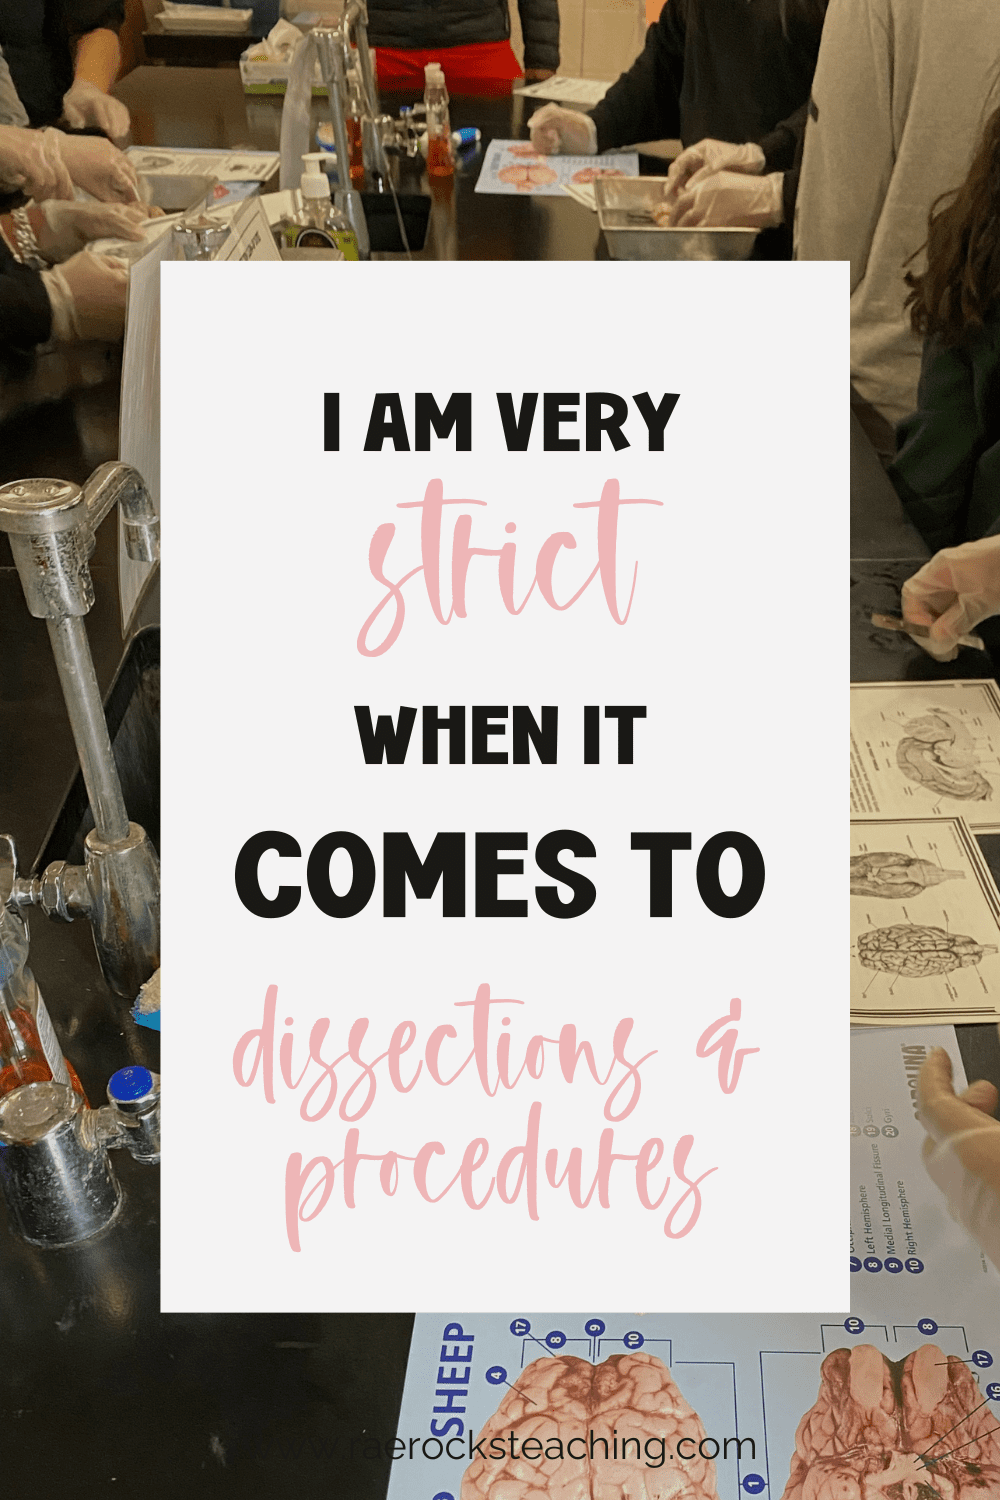
Dissection Safety Procedures
When working with dissection specimens and dissecting tools, it is imperative to have a super rigid procedure for keeping our students safe. I am very strict when it comes to dissections and procedures. Pretty much by the second to third dissection, they are on autopilot and do these things without even thinking. Below are my TOP safety procedures that if not followed will result in an automatic zero and possibly an office referral.
ONE | All students must wear gloves when touching the specimen
TWO | Students must keep their safety glasses on at all times
THREE | Treat the specimens humanely. They were once living organisms.
FOUR | No horseplay, goofing around, or playing with the specimen.
FIVE | When handling the dissecting tools (scalpel, scissors, etc.), do so very carefully. They are sharp.
SIX | Report any accident to your teacher IMMEDIATELY. First aid is very specific for cuts with dissection tools. I send them straight to the nurse.
SEVEN | Disposal of the dissection materials must go in the dedication location for proper and sanitary removal.
EIGHT | When in doubt, ask or don’t do it.
These are the main points I make when starting to dissect organisms. I want it to be crystal clear there is no room for bad judgment in these situations.
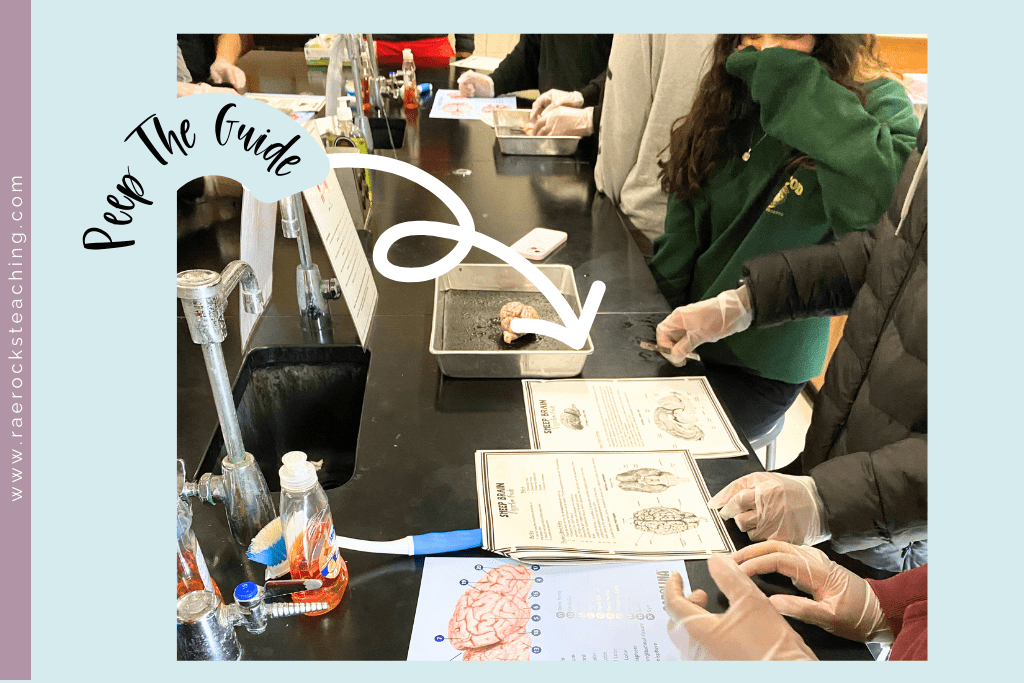
Dissection Guides
Each dissection my students have dissection guides that are thorough, but clear and concise. Each one includes background information on the specimen along with some anatomy and physiology information. The students will use this information to complete their dissection analysis questions at the conclusion of the dissection. The guides contain step-by-step directions on what to examine, what to cut, and where to cut. They include images as well so students can refer back to and see if they are on the right track. You can find many dissection guides online, but if you want vetted, tested, and age-appropriate dissection guides (with answer keys), I got you covered – check out the collection here.
Dissection Procedures Clean-Up
When I first started doing dissections ages ago, I didn’t put much thought into dissection clean-up procedures. It wasn’t until I had a class that left everything wet, dirty, and let’s say a nasty disaster that I realized I needed a plan. I was not their maid and made sure to quickly get my act together by the next dissection. From that point in time until now, I have tweaked and masterfully crafted a dissection procedure clean-up that is fool-proof and gets the job done (well) everytime!
Once students have finished dissecting, they must follow their clean-up duty assignments that they signed up for within their groups at the beginning of the semester. I have very specific duties such as cleaning the dissection trays and utensils with soap, rinsing them completely, and fully drying them. I have stations for them to return every item they used back to its correct location. They must clean out the sink of dissection materials, wash it with soap, and dry it as well. Students are also required to sanitize and wipe their lab stations fully dry. They must return their cleaning brush and dish soap. All trash must be disposed of and the chairs must be pushed back in. Only once they have completed their dissection procedures checklist and I have checked their areas, then I will pass out their analysis questions.
I used to have students sit there while their group was dissecting, not participate, and only answer the questions. Then the rest of the group would just copy those students. I fixed that issue and it hasn’t been a problem since. If you snag my dissection guides, there is a bonus in there with the clean-up assignment sheet and cleaning checklist.
Don’t forget to grab your FREE COPY of The Ultimate Guide to Engage Students To Learn Anatomy | 7 Secrets To Implement Today

I love sharing helpful content with y’all and would love to connect on IG or Facebook. I’m on TikTok too! Follow me and send me a DM with what you need more of because I’m here to help! If you are looking for even more inspiration, find me on Pinterest!


2 Responses
Thank you for this post. I’m currently trying to solve the problem of a yucky lab report because I want them all to participate and complete their own lab report. You mentioned above that you solved that problem. To clarify, is there a resource or idea that you share in your products or would you be willing to share how you keep them all engaged and get clean lab reports at the end? Thank you!
Hey there! Just to clarify, I do not have my students write lab reports. I have them answer lab questions once they have finished their dissections.