Struggles with Teaching the Flow of Blood Through Heart Steps
The flow of blood through the heart steps is a difficult concept for students because they cannot experience or observe it directly. It is very easy for students to misunderstand it and can cause confusion. As teachers, we oftentimes rely on labeling diagrams and memorizing the flow of blood in the heart in order. This method is decent, but having students do a hands-on activity would provide better results.
Looking for more ways to engage your anatomy students? Then check out The Ultimate Guide to Engaging Students to Learn Anatomy | 7 Secrets to Implement Today

Using the Model Approach to Learn the Pathway of Blood
Models provide a way for students to demonstrate and experience relationships between systems. Using this approach for learning the blood flow pathway ties perfectly into NGSS and with how the mind learns. The NGSS (Next Generation of Science Standards) incorporated modeling into their framework because of how effective it is on student learning. I think some people have misconceptions about modeling that students need to create 3D traditional models, but that is simply not the case. Most often students can draw or act out things to be considered modeling.
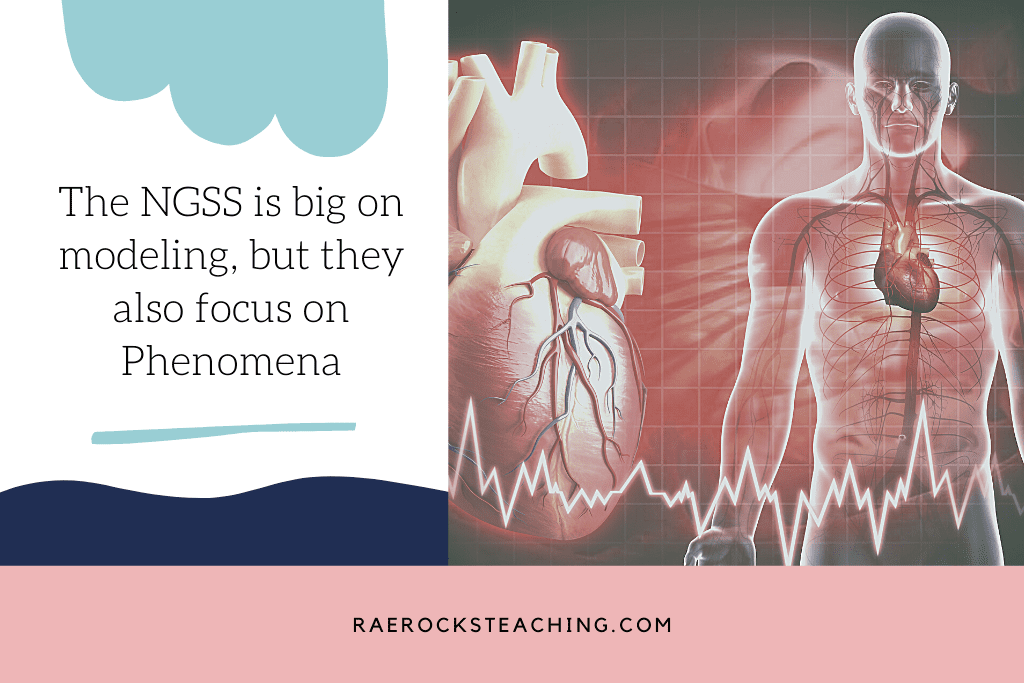
Relate the Flow of Blood to Real-Life Scenarios
The NGSS is big on modeling, but they also focus on Phenomena. I know, blah-blah-blah, but seriously it grabs students’ attention. In the past, I have tied the flow of blood to many different situations. You will get more “buy-in” from students when they can see how it relates to them or a family member.
You could lead a discussion on how smoking is linked to cardiovascular disease which can narrow the arteries making it harder for blood to flow. A discussion could be lead about how blood clots can travel through the blood vessels landing in the heart leading to a heart attack or if it traveled to the brain could cause a stroke. These are some common ones that I find students have heard of before so they already have an idea of what happens. Tying it into blood flow is a good segue.
How Blood Flows Through the Heart Step by Step
Now that you have students on board with why they need to know the flow of blood, let’s move on to how we can get them to learn it!
I do this activity with them after we have done a lesson on the cardiovascular system.
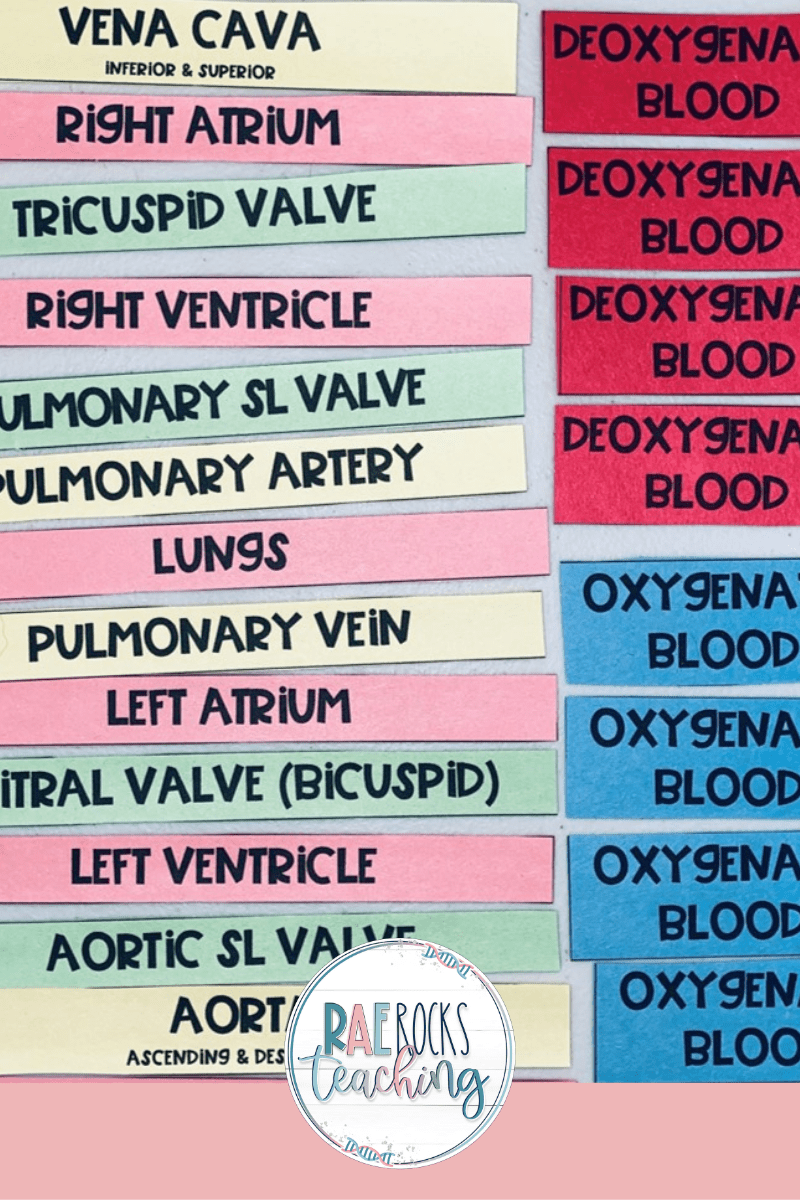
Place students in groups of 3-5 students depending on class size. I give each group an envelope and inside will be paper strips in 5 different colors of paper.
» Pink strips=chambers only, including the lungs and body
» Yellow strips=blood vessels
» Green strips=valves
» Red cards= Deoxygenated blood
» Blue cards=Oxygenated blood
Students will be simulating the pathway of a red blood cell through the heart, lungs, & body. First, students will order all the chambers (pink strips) in order of blood flow starting with the vena cava. (TIP: You can start at any point you choose if you prefer) Next, students will put the blood vessels in order of sequence by placing them correctly between the chambers as blood flows. Students will then add the heart valves (Green strips) to the sequence of blood flow. Have students take the Deoxygenated Blood cards and place them next to each of the locations you would find DEOXYGENATED blood. Then, have students take the Oxygenated Blood cards and place them next to each of the locations you would find OXYGENATED blood.
Go through the steps of how they are to practice following the above instructions. The role of the recorder will be to keep the ANSWER KEY and check that each group member places the strips in the correct order.
Allow the groups to practice putting the strips in the correct order by giving them different starting points each time. Walk around the room ensuring that all groups understand the process, and all are involved. Allow 15-20 minutes of practice time. (More/less time if you choose).

When the time has passed, give instructions for the recorders to place all the strips inside the envelopes, along with the answer key, and return them to you.
Why this is effective
Remember when I mentioned that modeling helps students visualize relationships? And helps them see how things are structured? Well, this encompasses all of those things. Students use their heart diagram (either labeled or unlabeled) to correctly order the pathway of the flow of blood. They are then asked to go a step further and add in where blood is oxygenated or deoxygenated. The ordering piece of the blood flow pathway is considered modeling. Not all modeling is 3D clay structures (that may just have been my misinterpretation long ago).
Ways to Incorporate into your Classroom
#1: Use this as an inquiry-based opener before the material is taught
#2: Use this as a review of the concept after it has been taught
#3: Use this to quickly assess students understanding
#4: Do this as a bell ringer the day after the material is learned
#5: Make it a competition to see who can correctly model blood flow the fastest-Winner gets a prize (Jolly Ranchers work wonders)!
#6: Laminate the unlabeled heart and let students trace the flow of blood using an expo marker. They could even label it as they go. Great visual practice.
Time-Saving Tips
Tip #1: After you have made the copies you need, laminate them BEFORE cutting. This will allow the strips to last for a long time limiting the prep work needed for the next use.
Tip #2: Have a student mentor do all the cutting or any time that there is some downtime in class, you could ask students to help. You would be surprised how willing they are to help…also Jolly Ranchers help!
Tip #3: You could give each student their own set of copies and have them cut the strips out, even gluing them onto a piece of paper after they have been correctly ordered. This would not be my first choice because we want them to do this more than once. However, if you want students to have their own copy then this would work.
I absolutely love sharing with y’all and would love to connect on IG or Facebook. Follow me and send me a DM with what you need more of because I’m here to help! If you are looking for even more inspiration, find me on Pinterest!
Want More?!
The Best and Most Fun Way to Prepare Students for Biology Finals
The 5 Most Powerful Activities for the First Day of High School


One Response