
Doing a drawing of the digestive system can be easy. Here is why I have my students do a digestive tract drawing and EXACTLY what they should include.
Why I Assign the Digestive System to Draw
The digestive system is a daily simple system to draw, so I like to give my students a little variety by asking them to draw it. I could easily have them label a picture, but this can get old. I have found that when students draw out the organs AND label them, there is a much higher chance of them remembering their locations. I provide very simple instructions for them to follow and a list of the organs that must be included. They are to draw, label, and color these organs along with writing next to them the secretions released. This provides even more of an extension that serves them well in understanding the process of digestion.

Digestive Drawing Options
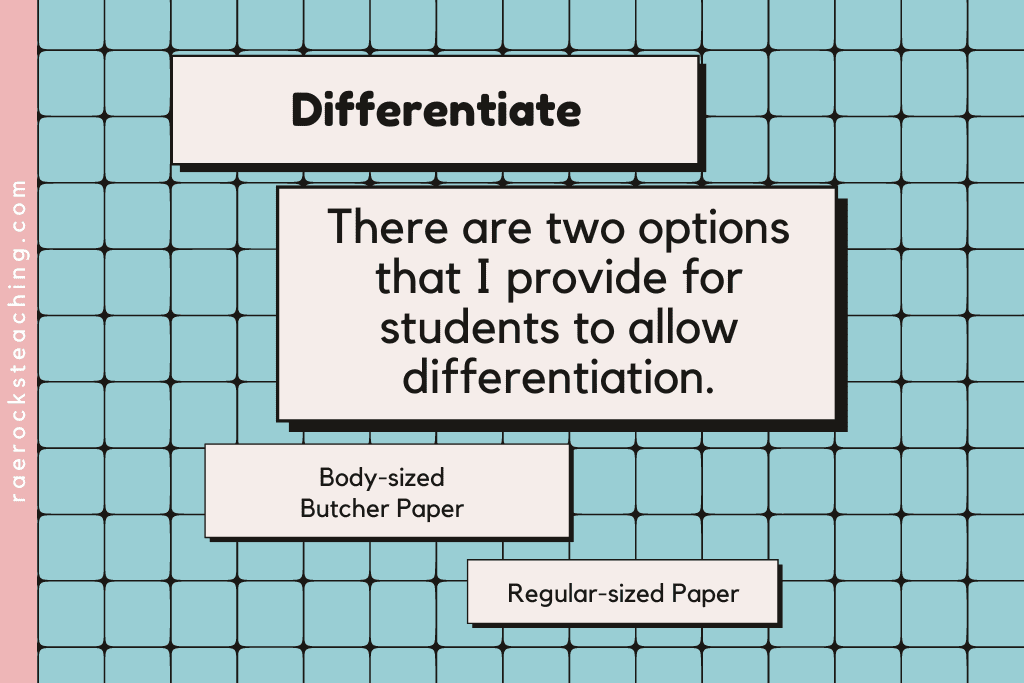
There are two options that I provide for students to allow differentiation. First, they can work with a partner and use a large white piece of butcher paper. This gives a more life-sized replica. However, sometimes this can overwhelm students, so I give them a second option. The second option is to work along by drawing their model on a regular-sized sheet of computer paper.
Regardless of the size of paper they are using, the directions remain the same for all students. I still expect the same output and depth of understanding from each of them.
Digestive Tract Drawing
Once students have their supplies, I hand them the assignment procedure. On their blank paper, they are to sketch the head & torso of a body. Next, they begin drawing and labeling the organs as followed:
- Mouth (oral cavity)
- Salivary gland (parotid, sublingual, submandibular)
- Esophagus
- Pharynx
- Stomach
- Liver
- Gall bladder
- Pancreas
- Small intestine (duodenum, jejunum, ileum)
- Large intestine (ascending, transverse, descending, sigmoid colon, rectum, anal canal, anus)
The directions then ask students to put a star next to the name of organs that are included in the alimentary canal and underline the labels of organs that are accessory organs. I want them to see what parts are directly and indirectly responsible for digestion.

Lastly, they are asked to list the secretions next to each organ that it is responsible for. I do not have them write out what each secretion does, due to space, but I do provide a secretions chart to them.
This will typically take them maybe one block (90 minutes) if they are very thorough, however, it could take as little as 45 minutes for those who just like to get things done. I would plan accordingly. Hopefully, this has encouraged you to try this fun, easy, no-prep activity that truly helps solidify your students’ understanding of the digestive system
Don’t forget to grab your FREE COPY of The Ultimate Guide to Engage Students To Learn Anatomy | 7 Secrets To Implement Today

I love sharing helpful content with y’all and would love to connect on IG or Facebook. I’m on TikTok too! Follow me and send me a DM with what you need more of because I’m here to help! If you are looking for even more inspiration, find me on Pinterest!
Wanna read more?
How many bones in human body? A Hands-on approach to teaching anatomy students bones.
The Flipped Classroom and Technology You Need to Make it Successful for Anatomy


One Response