Do you get tired of having your Anatomy students memorize anatomical terms of positions? Stop using the same old boring worksheets to teach standard anatomical terms. Students need to apply their knowledge rather than label and regurgitate it on the test. After reading this blog post, you’ll see why I use stations to teach and reinforce anatomical terms related to position.
Looking for more ways to engage your anatomy students? Then check out The Ultimate Guide to Engaging Students to Learn Anatomy | 7 Secrets to Implement Today
Anatomical Terms and Planes of the Body
I love using stations for many different activities and anatomical language is no different. Stations offer so much variety and engagement that I try to incorporate them as much as feasible into my units. This unit tends to be the first unit students are exposed to in an anatomy and physiology class, so I try to make it as fun as possible. By creating excitement in the beginning, the buy-in to the class is much greater.
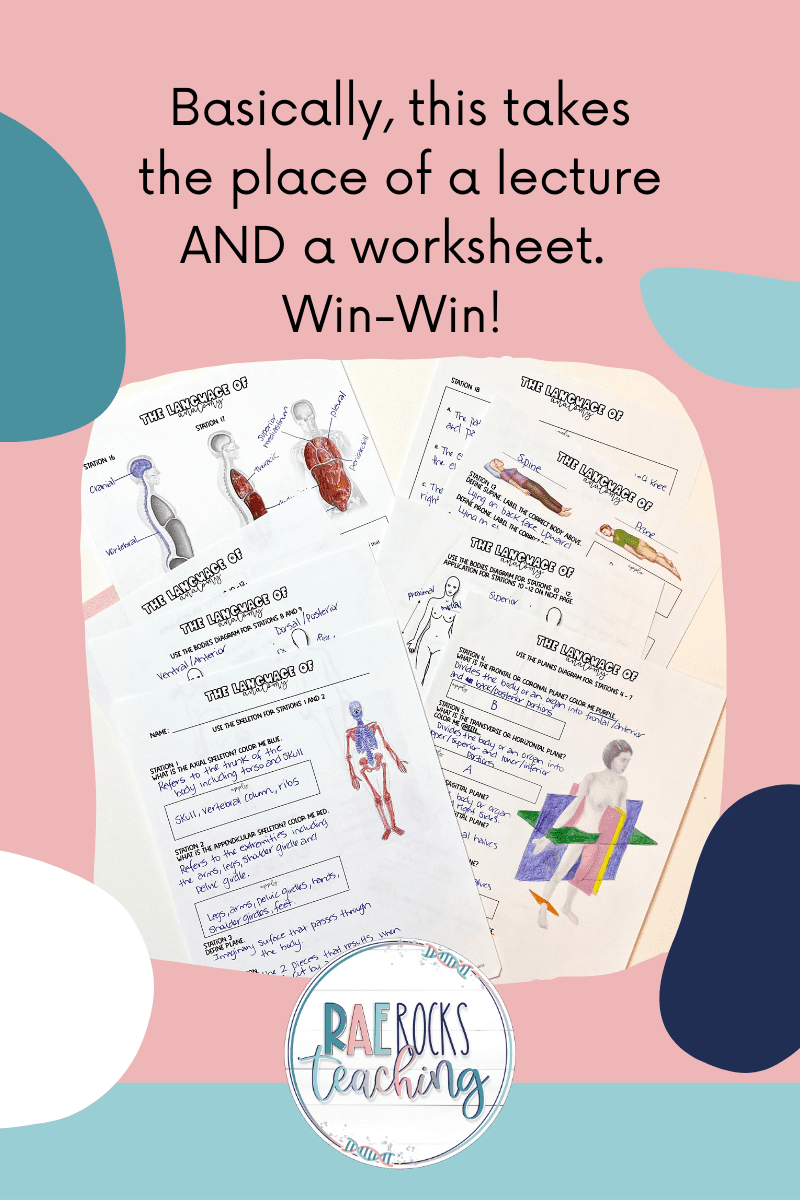
The stations I use for anatomical language contain both information and application of knowledge components. I wanted there to be a task they needed to complete that went along with each of the informational pieces. Students are therefore taking notes while also completing an assignment as they move through the stations. Basically, this takes the place of a lecture AND a worksheet. Win-Win!
-
Save
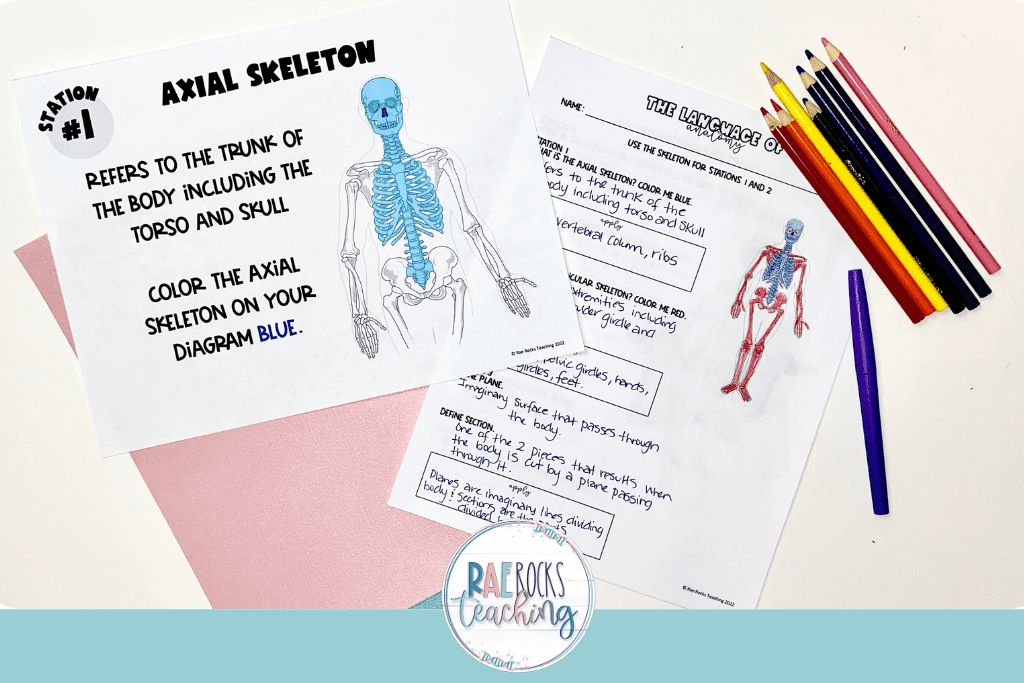
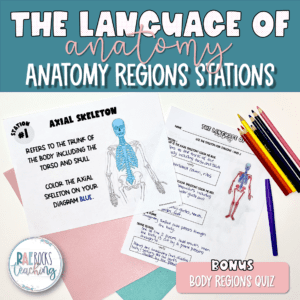
There are 19 stations in total that have great visuals and key terms the students need to know. Stations one and two cover the axial and appendicular skeleton along with apply your knowledge questions. Stations three through seven discuss body planes and sections with examples and apply your knowledge questions.
-
Save
Anatomical Position and Terms of Direction
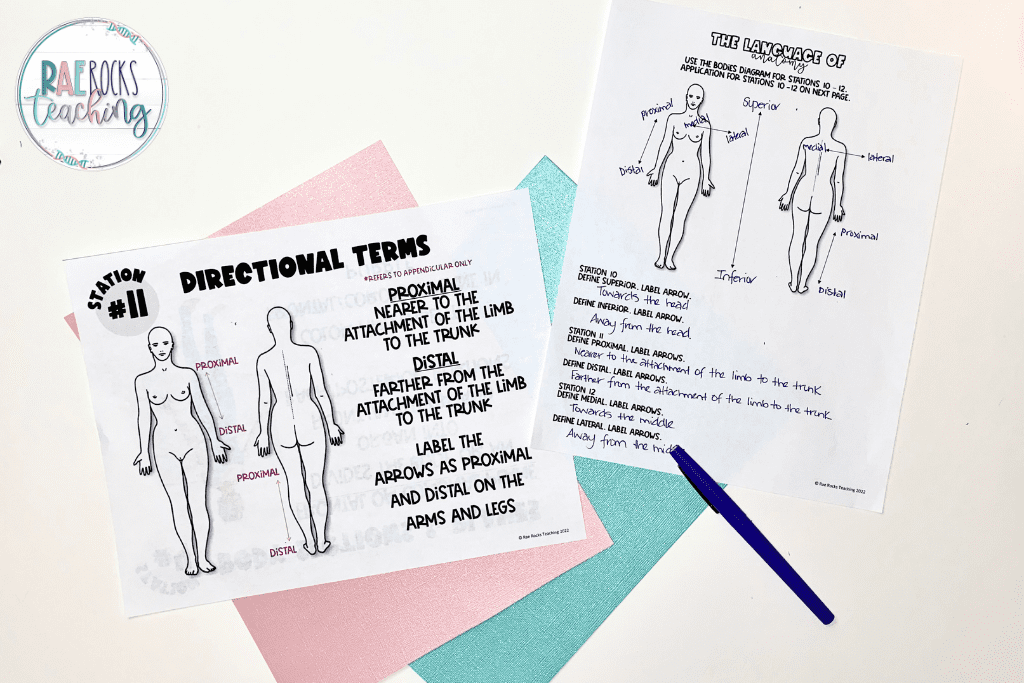
There are several terms of direction that are used in the human body. In this station rotation activity, stations eight through thirteen cover all of the directional terms. The terms included are as followed:
- Superior/inferior
- Anterior/posterior (or ventral/dorsal)
- Distal/Proximal
- Medial/lateral
- Supine/prone
- Left/right
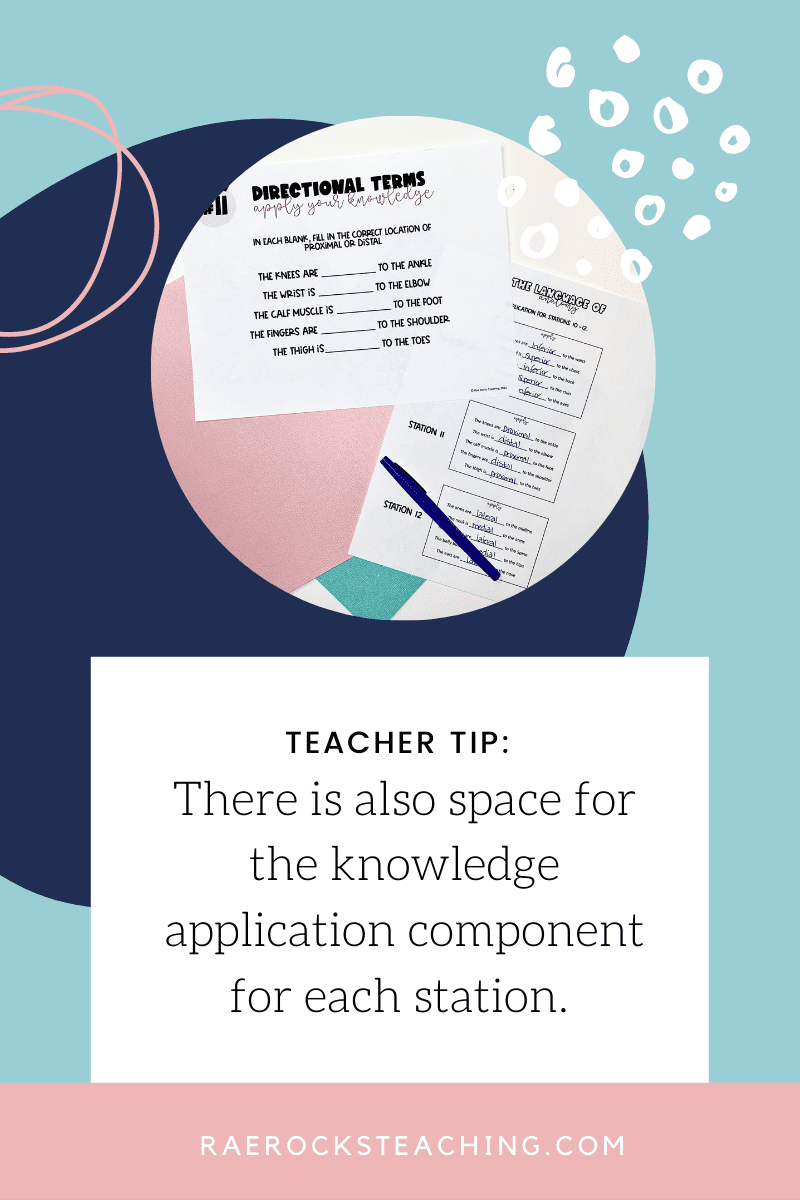
The handout students are given has spaces and diagrams for them to label as they are identifying the terms in the stations. There is also space for the knowledge application component for each station.
-
Save
Stations fourteen and fifteen cover the 9 abdominopelvic regions and the 4 abdominopelvic quadrants along with opportunities to identify the organs located in each region and/or quadrant. Stations sixteen and seventeen cover the anterior and posterior body cavities and stations eighteen and nineteen cover the body regions.
-
Save
How To Group Students
I have the 19 stations spread out in my room, mainly around the lab tables, but could spill on to the walls if needed. I divide students up into pairs of 2 based on their level of understanding. Since I use the flipped classroom model, I use the results from the built-in assessment pieces as a guide to see who does or doesn’t know the content, that way I can quickly create groups. I pair up groups with varying levels, but never the high with low students. I have found that both get frustrated with each other. Sometimes the higher-level students will not have the patience to help the lower-level students. While the lower level students become increasingly confused because they aren’t grasping the concept. I have found that matching up students from high level to medium level and medium level to lower level works best. They can all help and learn from each other without the added pressure or anxiety. It works seamlessly!
How to Run the Stations
Once pairs are set, I hand each student their anatomical terms of positions answer sheet and go over the instructions. I use a timer for each of the stations to tame the chaos and keep each student focused on the task at hand. They know ahead of time that each station must be completed in the time given. I give them a few extra minutes at the end of our rotations to go back and finish any they didn’t complete. This is a small minority of students because I try to build in ample time without lots of waiting around. I set the timer for 3-5 minutes depending on my classes. Usually I can determine the pace after the first 4 minutes are up. Then, I either add or subtract time according to the students’ pace. Too much time will cause students to stand around, while too little time causes students to rush through just to get done. It all just depends on your class and the time you have for class. I have 90-minute blocks, so there is more flexibility in how much time I can allow. You could get through the stations in two-45 minute classes as well.
Since these are meant to be their notes, I typically review the answers to the apply your knowledge questions, then they put the handout into their notebook to keep. This has worked really well for my students and I hope that you find them engaging and helpful for your anatomy students too!
Want a copy of these stations so you can implement them today? Then, click the image below to go straight to it in my shop.
Don’t forget to grab your FREE COPY of The Ultimate Guide to Engage Students To Learn Anatomy | 7 Secrets To Implement Today
I would love to connect with you on IG or Facebook. I’m also on TikTok too! Follow me and send me a DM with what you need more of because I’m here to help! If you are looking for even more inspiration, find me on Pinterest!

-
Save
Wanna read more?
Benefits Behind Using the Flip A Classroom Model in Anatomy & Physiology
A Guaranteed Way to Teach the Flow of Blood Through the Heart Steps
The Most Exciting Endocrine System Function Project Idea for Anatomy
Share via:




5 Responses
How do I purchase the content on directional terms?
Hey there Rob! Here is a link to purchase https://raerocksteaching.com/product/anatomy-regions/
Is your content free or is there a cost?
The content in the posts is free, but the products I use and link are for purchase.